

On this page 10 sections
Your guide
What you'll learn
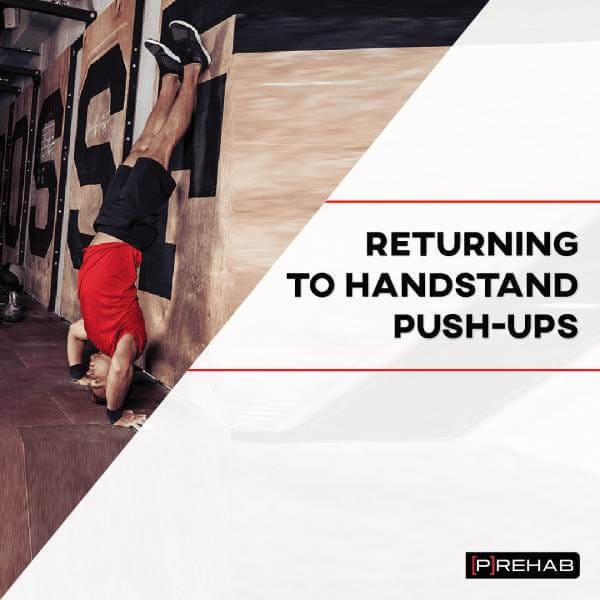
Whether you are looking to add variability to your overhead pressing routine, achieve your first handstand push-up, or are a CrossFit Athlete needing to return to and build capacity in this skill; we will guide you! This is a challenging movement requiring commitment to achieve but as we know the greater the challenge the greater the reward! Follow along to learn how to work your way from the beginning all the way to mastering handstand push-ups!
Returning Or Attempting Handstand Push-Ups Checklist
You've reached the point where your shoulder pain is now gone and you're feeling pretty strong, well done! Next step, you want to get back upside down for the ole arm squat aka handstand pushup but are afraid to attempt or do not have a plan of how to achieve this goal.
If you did not come from rehabbing your shoulder and are just curious about how to do a handstand pushup or are skilled in this movement and want to improve your foundation to improve the skill further, no worries the main route is the same, the initial intersections to the main route are where the difference lies.
Before merging onto the main route let's hit the pre-trip checklist!
Pre-Reqs Before Returning To Handstand Push-Ups
Below we will discuss the prerequisites that are required prior to returning to handstand push-ups.
Mobility
If you don't have the mobility, you will forfeit appropriate stability, and at best your return to a handstand pushup is starting with a no rep and increased risk of a shoulder injury. Make sure this bag is fully packed before getting upside down, make your judge hang on to those no rep calls for other athletes!
Want To Learn How To Master Other Overhead Movements?

Overhead stability requires multiple moving body parts working together in synchrony. Without adequate motion, stability, strength, and power in the right places, you run the risk of exposing other body regions to excessive strain. As a result, you may be limiting yourself to reach your true performance potential as a fitness athlete. With that being said, addressing overhead stability requires a multi-dimensional approach, while taking out the guesswork and truly identifying your limiting factor to performance. We have blended science with our clinical expertise to provide you with the ultimate proven solution, we know it will help you too! Get started HERE!
Foundational Capacity
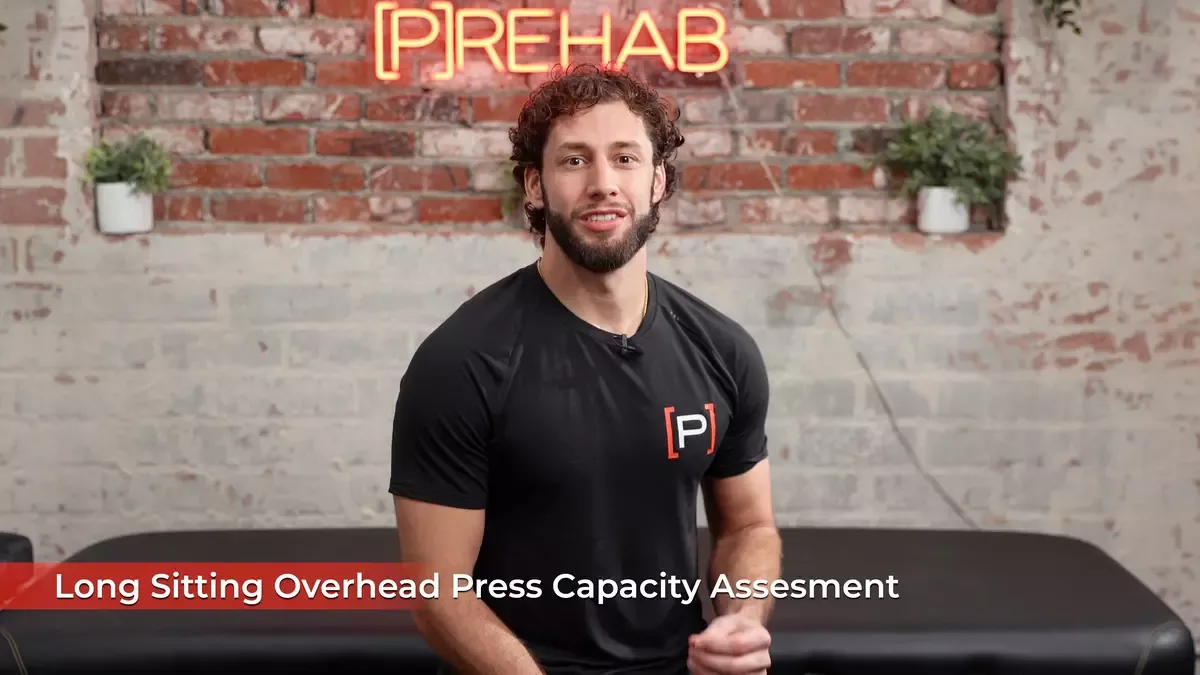
Once mobility is earned, lock it in long term by conditioning the shoulder complex and ensuring symmetrical overhead pressing symmetry. Are you allowed to have one arm outperform the other? Yes! However, if the difference is greater than 10 percent, you got some work to do. The benefit of the long sitting overhead press test with a kettlebell in a bottoms-up position is we can better look at shoulder stability vs strength. We also take the legs out of the equation to get a true test of what your core and pressing capacity is!
For vertical pressing, specifically a handstand pushup we need vertical forces. To achieve vertical forces, all the other horizontal and rotational forces need to cancel each other out via a balanced shoulder complex (read more here). Once those forces are able to cancel each other out we now turn our focus to symmetrical overhead pressing stability and later on strength. Research has shown the dominant arm to be 2.3x more likely to become injured compared to the non-dominant, we will revisit this point again and hammer it home later (Sayampanathan et al 2017).
Exercise 01 of 15
Exercise demonstration
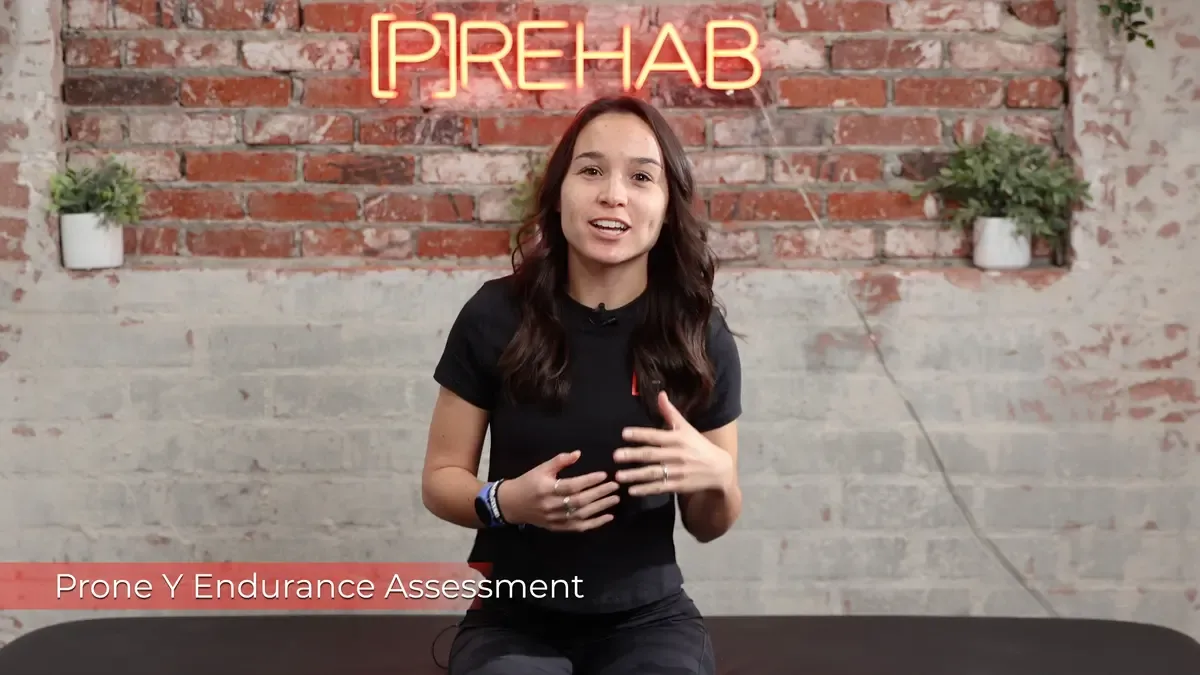
Prone Y Endurance Assessment
View exercise instructions
Exercise 02 of 15
Exercise demonstration
Long Sitting Overhead Press Capacity Assessment
View exercise instructions
How To Assess & Improve Your Shoulder Overhead Mobility
In addition to shoulder mobility, our thoracic spine mobility is also an important component of a successful handstand push-up. If your mid back is feeling tight and/or stiff, check out this blog post for some awesome exercises you can easily implement into your routine!

Foundational Vertical Pressing Strength
Once you have earned adequate and symmetrical shoulder stability we now can move along the training continuum to strength. As stated earlier, the dominant arm is more likely to get injured compared to the non-dominant arm. A long sitting heavy dumbbell 5 RM test is a very humbling and objective measure you can use to take your legs out of the equation and see if you have one side that is vertically pressing dominant (greater than 10 percent compared to the other side). If so, you can bet one side is outworking the other during your handstand push-ups and you will be constantly fighting the awkward not falling sideways off the wall into the other athletes!
Exercise 03 of 15
Exercise demonstration
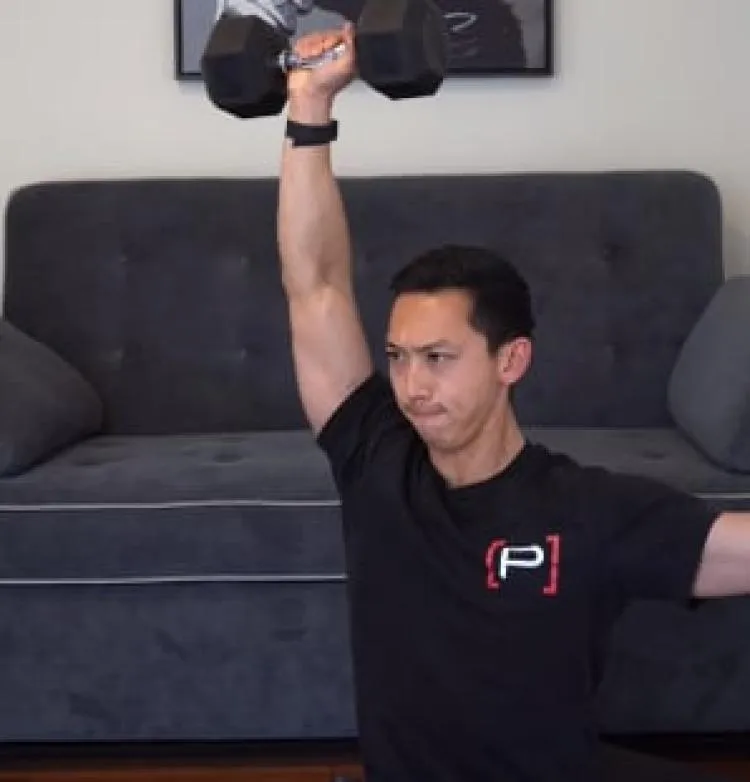
Long Sitting Single Arm Overhead Press - Dumbbell
View exercise instructions
- HOW: Start in a long sitting position holding only one weight in one hand in front of your shoulder. Begin the exercise by keeping the rest of your body still and performing an overhead press. Hold the overhead position for a moment (the weight should be in line with your ears), slowly lower the weight down and return to the starting position and repeat.
- FEEL: This should feel like an upper body workout, specifically your deltoids, traps, triceps, and upper back muscles. You should feel your shoulder blade working a lot with this exercise. You will also feel your abs and lower body working to maintain optimal long sitting posture - avoid side-bending or tilting due to the off-set unilateral weight.
- COMPENSATION: Do not excessively arch or bend your low back. Keep the rest of your body still as best as you can. Do not use momentum to move the weight, also focus on moving slowly, maintaining time under tension. Avoid excessive shrugging. Avoid leaning side to side.
Sample Overhead Crossfit Performance Program Exercise Video
Once you have established your 5 RM for both sides and trained for that less than 10 percent difference, it's time to build up resiliency, strength, and endurance with vertical pressing. This happens before going upside down! Why? If you fail a rep you drop the dumbbell, if you fail upside down in a handstand push up you tumble onto your head and neck, one is for sure safer than the other.
Exercise 04 of 15
Exercise demonstration
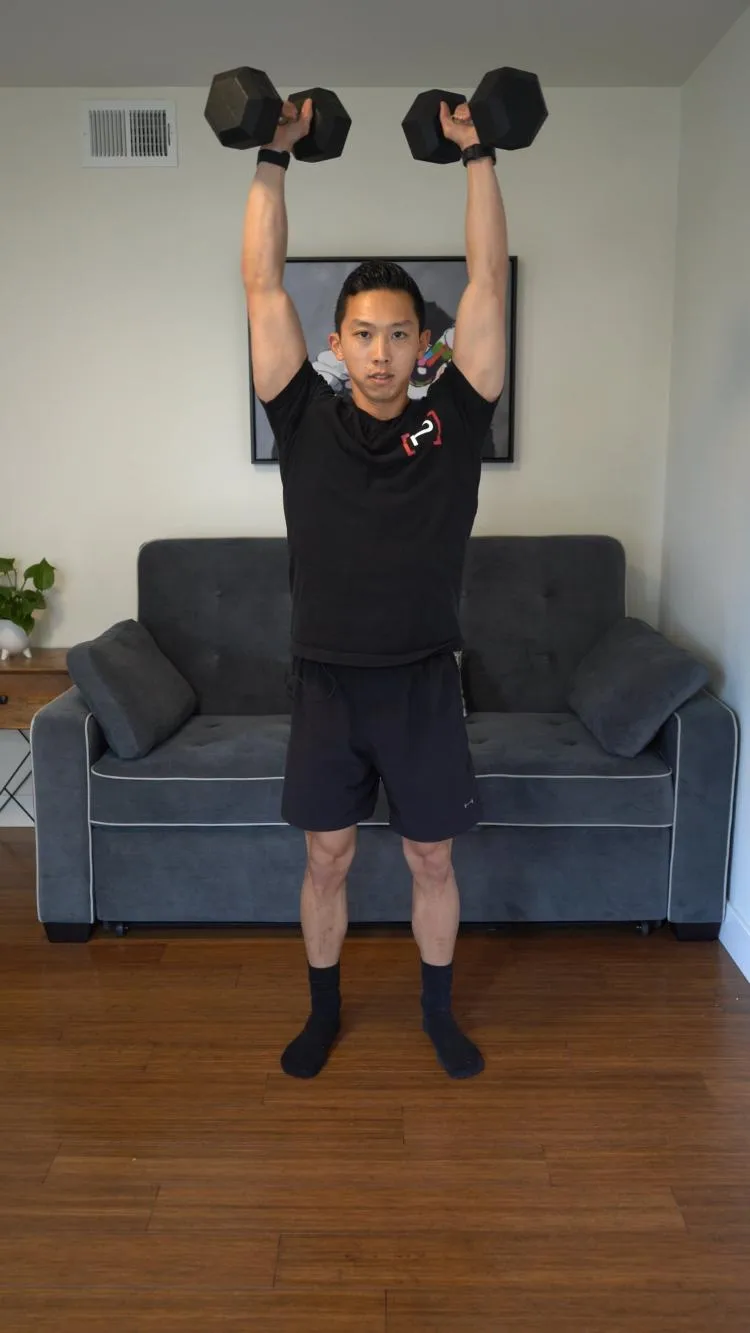
Overhead Press - Dumbbell
View exercise instructions
- HOW: Start in a standing position holding weights or objects in each hand positioned in front of your shoulders. While keeping the rest of your body still, begin the exercise by pressing the weights/objects overhead. Pause for a moment, then slowly lower the weights down and repeat.
- FEEL: This should feel like an upper body workout, specifically your shoulders and triceps. When the weights are overhead, they should relatively be in line with your ears.
- COMPENSATION: Do not excessively arch or bend your low back. Do not use momentum to help with lifting the weights up overhead. Try to keep your chest up and the rest of your body still, avoid your elbows excessively flaring out.
Why use dumbbells vs a loaded barbell? Research has shown deltoid and shoulder complex activity to be the highest when using Dumbbells in a standing position (Saeterbakken & Fimland, 2013). Furthermore, the dumbbells will help to provide you with further feedback on vertical pressing asymmetries compared to a loaded barbell. Also appreciate you are moving on from sitting to standing because we are working towards the end goal of a handstand push-up; it's time to get vertical and learn how to squeeze the butt, brace the core, control breathing, and press overhead simultaneously. The goal in this phase is to reach anywhere from 50-75% of your body weight with strict overhead pressing!
Exercise 05 of 15
Exercise demonstration
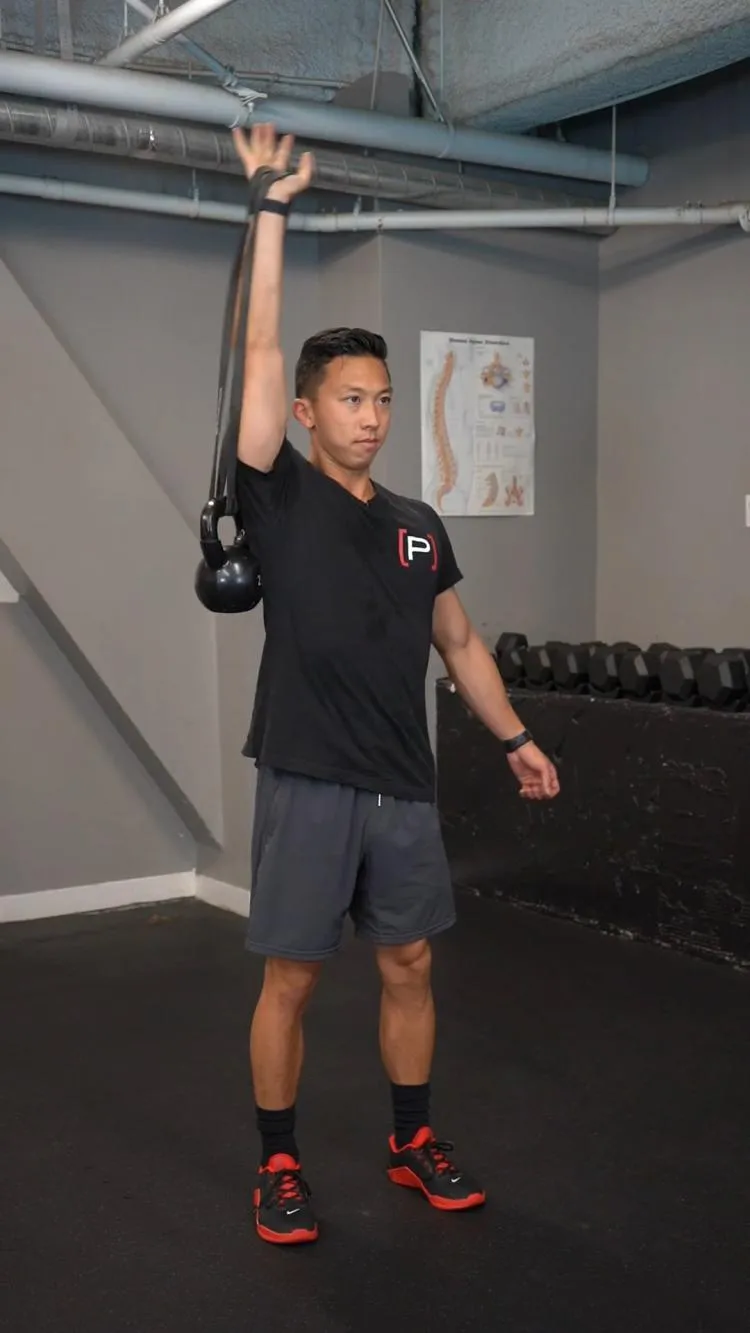
Overhead Press - Earthquake, Dumbbell
View exercise instructions
- HOW: Loop a band through a dumbbell or kettlebell. In a standing position, grab onto the band, bend your elbow, and position your hand in front of your shoulder. From here, press the band and weight straight up overhead. The slower you go the easier it will be.
- FEEL: You should feel your shoulder muscles working.
- COMPENSATION: Make sure you press the weight straight up overhead.
Sample Overhead Crossfit Performance Program Exercise Video
If you're looking to mix up your training a bit while still working towards a return to handstand push-ups you can use earthquake presses as accessory work!
Return To Handstand Push-Ups
Pre-trip checklist complete! Was it long? Yes! Was it worth it? Yes! If something goes wrong we revisit the pre-trip checklist and figure out the limiting factor and address it, meaning we don't get on the main route until the bags have been fully packed. If you do not take this path, it's not if; it's a matter of when you will be turning around to go pick up what was left behind.
Getting upside down is a skill within itself. It requires graded exposure to gain confidence and motor control. To get there we start by using Pike variations, headstands, wall walks, handstand holds, and then variations of handstand pushups. Typically, we will want to start each progression with isometrics and then move towards concentric/eccentric movements.
Exercise 06 of 15
Exercise demonstration
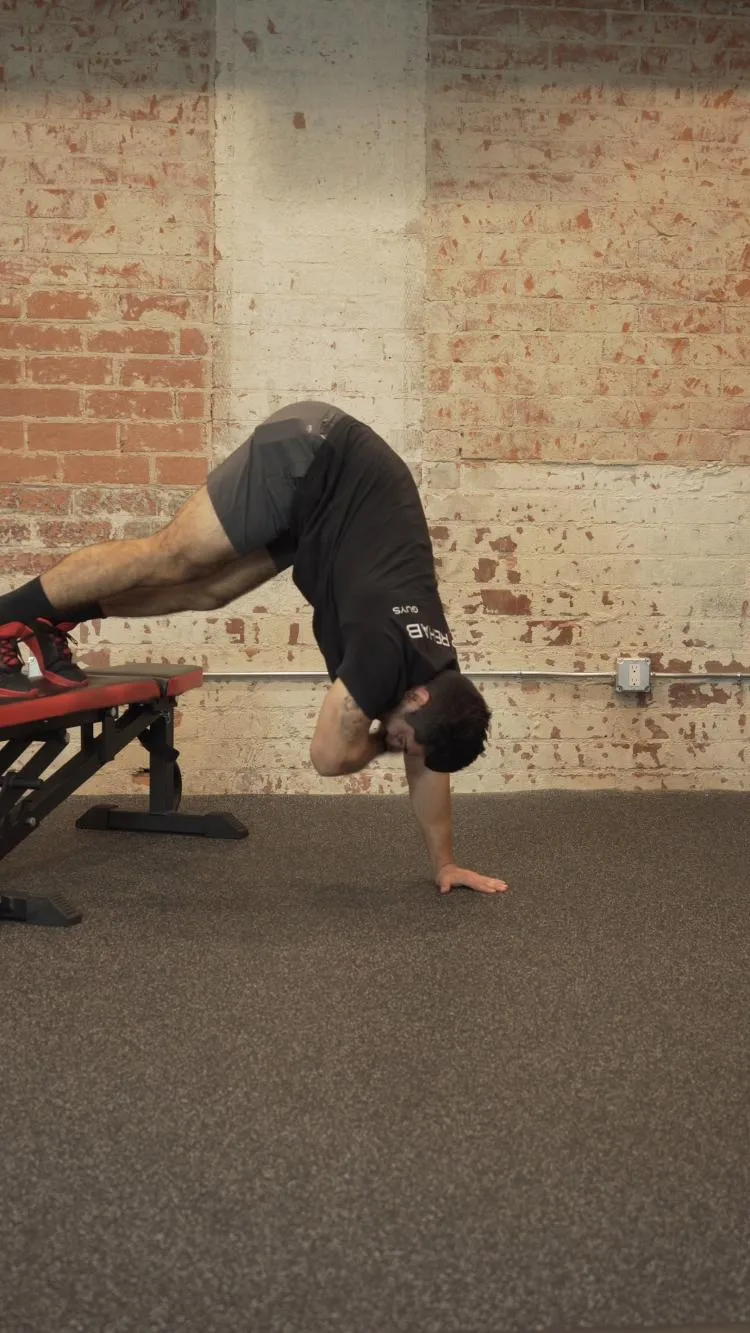
Pike Shoulder Tap - Legs Elevated
View exercise instructions
- HOW: Place your feet up onto an elevated surface with your toes pushing into the surface putting you into a plank position. From this position, walk your hands towards your feet one step at a time. Bring them as far back as you feel comfortable while keeping your legs straight raising your hips to the ceiling. Then, lift one arm up and slowly tap your opposite shoulder with that hand. Alternate tapping your shoulder with your hand for the prescribed amount of reps.
- FEEL: You should feel your core and shoulder muscles working. As well as a stretch in your hamstring muscles.
- COMPENSATION: Don’t shrug your shoulders when you are holding the pike position. Don’t bend your knees, keep them straight.
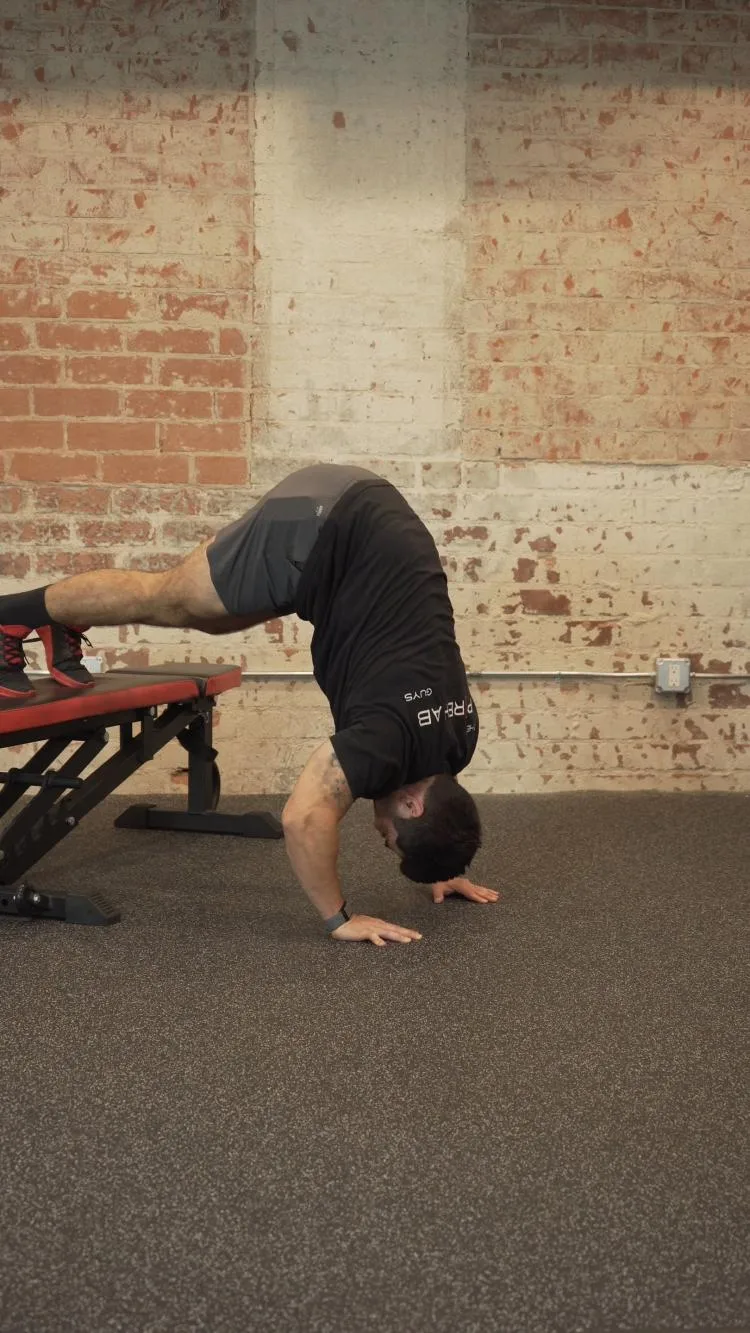
The pike position is great to begin the journey of getting upside down and having the arms support you! Spend as much time as necessary where you can comfortably complete pike handstand pushups with integrity and confidence. How many? If you're a CrossFit athlete we will use Diane as our benchmark; a couplet of Deadlifts and Handstand Pushups with a rep scheme of 21-15-9. or a total of 45 reps of each movement.
Exercise 07 of 15
Exercise demonstration
Pike Push Up - Legs Elevated
View exercise instructions
- HOW: Place your feet up onto an elevated surface with your toes pushing into the surface putting you into a plank position. From this position, walk your hands towards your feet one step at a time. Bring them as far back as you feel comfortable while keeping your legs straight raising your hips to the ceiling. Then, bend your elbows and perform a push up while maintaining the pike position.
- FEEL: You should feel your core and shoulder muscles working. As well as a stretch in your hamstring muscles.
- COMPENSATION: Don’t bend your knees, keep them straight.
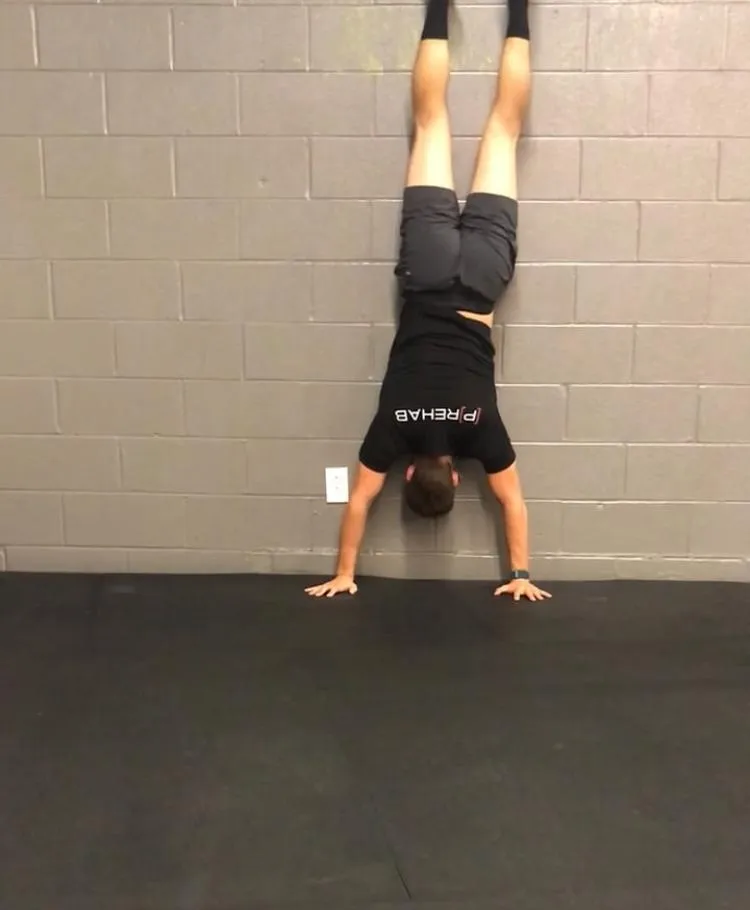
Next, you will begin to increase the demands of the handstand pushup by taking the hips from a flexed pike position to a hip extended or straightened position. This step can be a bit scary, luckily we can use graded exposure to decrease the fear and keep the hunger alive! We recommend using supersets of wall walks progressing to isometric handstand holds super setting with free-standing headstands. Why free-standing headstands? Athletes get used to quickly flicking their legs up and allowing the wall to catch them. This is a strategy to use, however, we like our athletes to own skills and show grace vs Kool-aid man slamming into the wall to get upside down.
Exercise 08 of 15
Exercise demonstration
Handstand Wall Walk
View exercise instructions
Exercise 09 of 15
Exercise demonstration
Headstand
Handstand Push-Ups
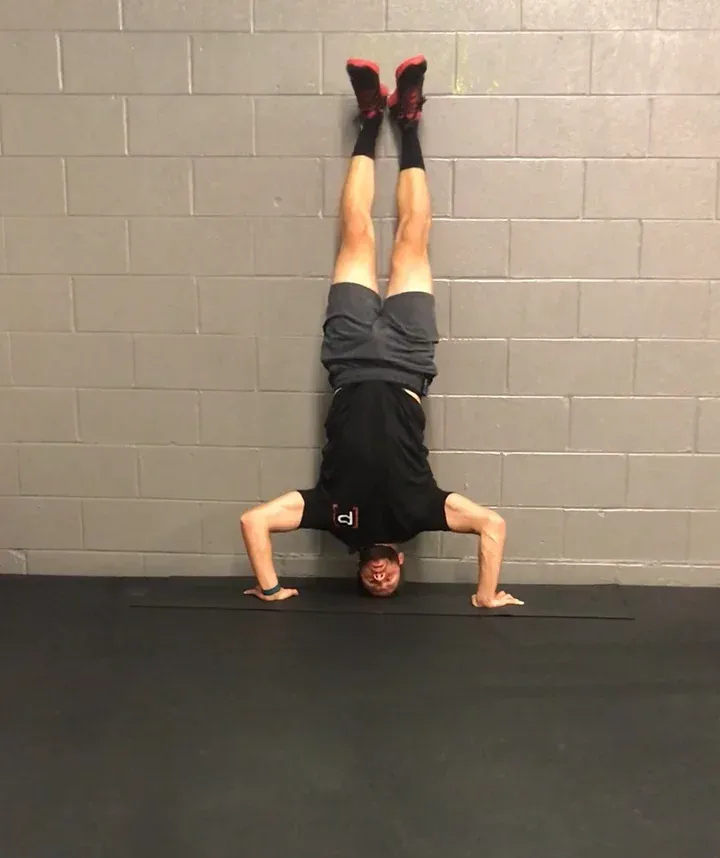
Finally, it's time to put everything you have been working on to the test! Before you get upside down, let's talk about the last coaching cue. Think of how you brace your core when you are completing a strict overhead press or when squatting. We want that nice braced core position with glutes squeezing the help maintain core integrity leading to an efficient force transfer during the actual push-up! Using a weightlifting belt as a tactile cue can be helpful when first learning!

Exercise 10 of 15
Exercise demonstration
Handstand Push-Up
View exercise instructions
Advanced Drills: Handstand Push-Ups
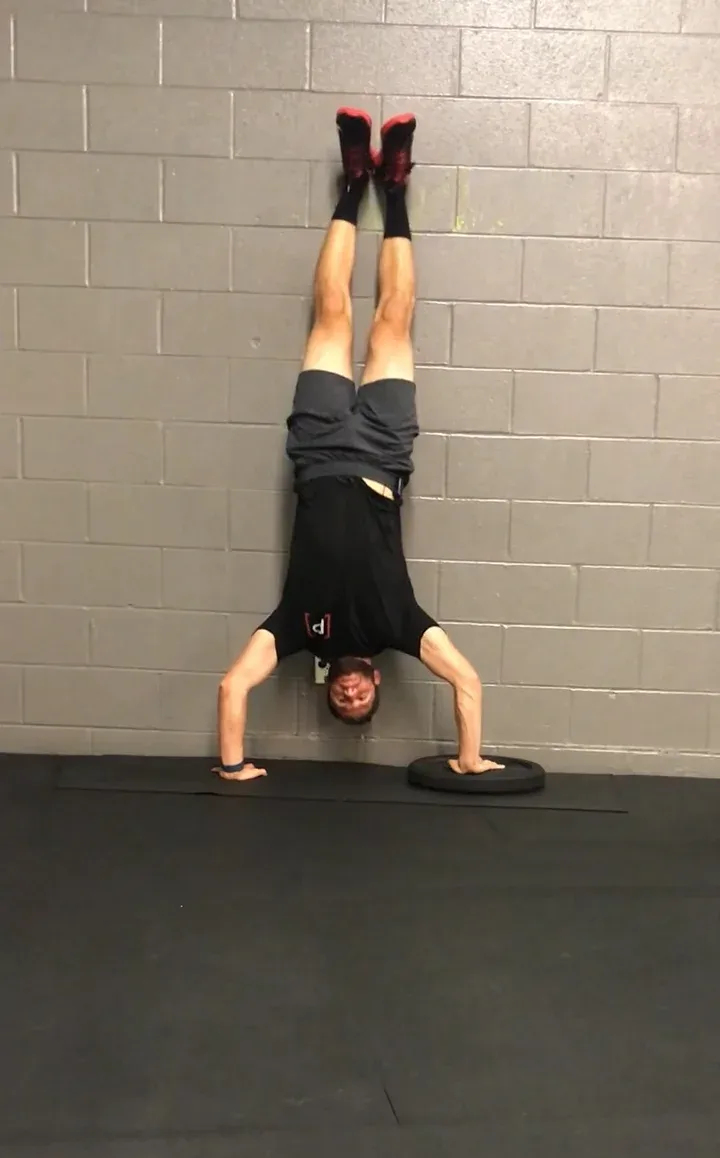
Earlier we talked about the importance of near-symmetrical vertical pressing and utilizing the above-mentioned overhead press tests to identify limb dominance. Now, that you are upside down and pressing the brain may want to go back to old patterns and use the dominant arm. We know if we add volume on top of this we can be looking at future injuries. Below are a few drills you can use the fully own near symmetrical pressing in the handstand push-up movement!
Exercise 11 of 15
Exercise demonstration
Handstand Push-Up Asymmetry Assessment
View exercise instructions
Exercise 12 of 15
Exercise demonstration
Handstand Push-Up Asymmetrical
View exercise instructions
Last Stop: Kipping Handstand Push-Ups
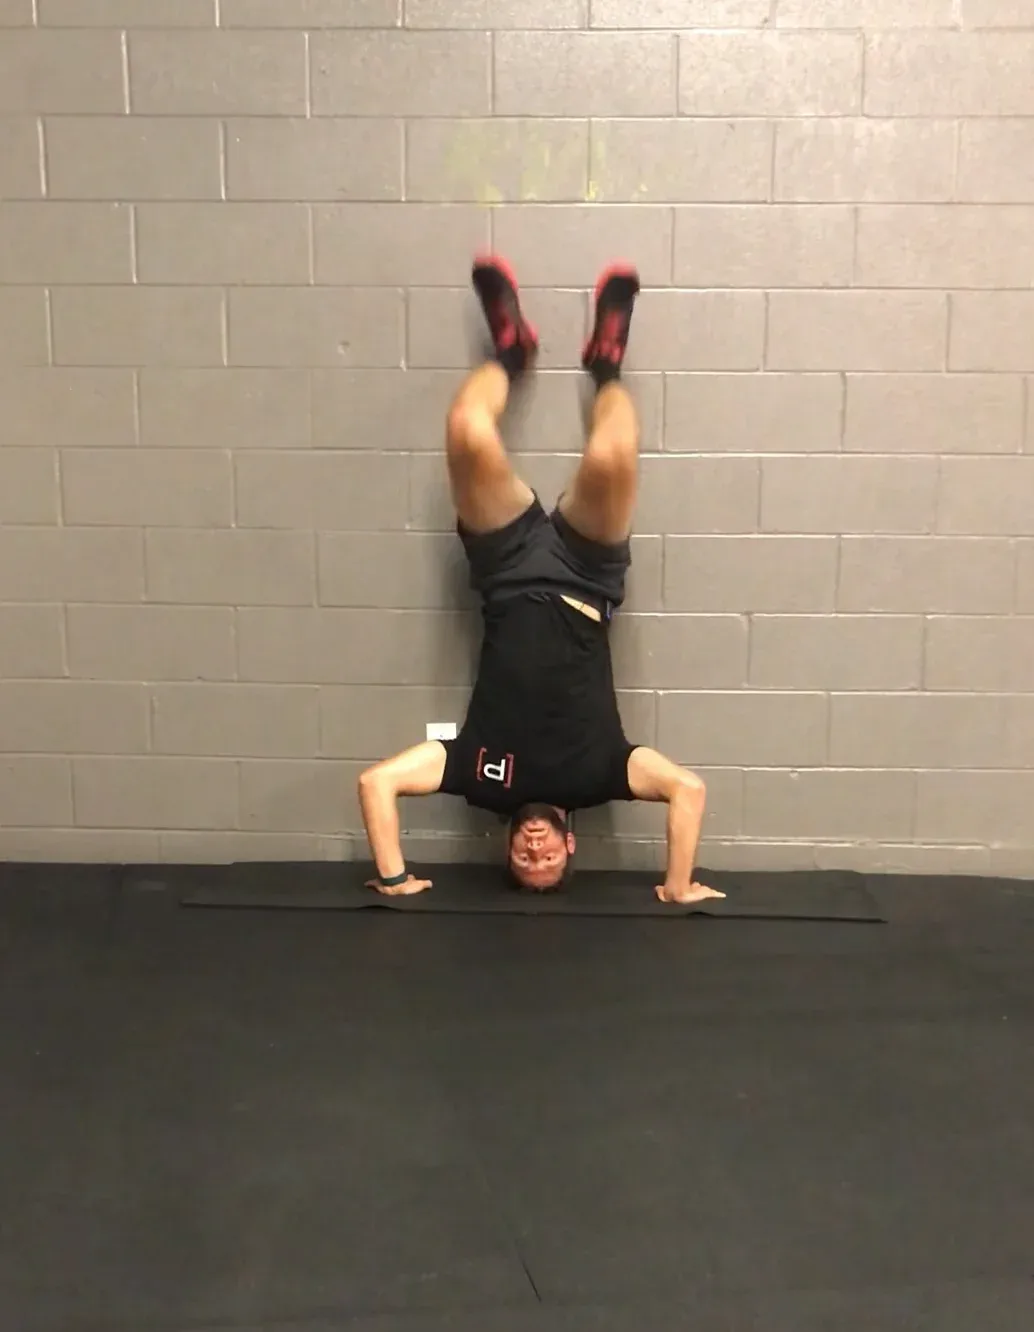
If your using handstand push-ups for variability in your overhead pressing training, stick to strict and skip to the closing thoughts. If you're a CrossFitter or Fitness athlete we need to talk about the kipping handstand push-up and integrity under fatigue. The kip now transitions the handstand pushup down the training continuum to a power-based movement.
Exercise 13 of 15
Exercise demonstration
Handstand Push-Up - Kipping
View exercise instructions
The kip is used to allow more reps to be completed in a shorter duration of time, it adds complexity to the handstand push-up skill and requires further coordination and agility. Another point to consider is it allows you to overreach your current pressing capacity. Think of a push press or jerk vs a strict overhead pressing. Adding those powerful hips into the equation allows you to get more weight overhead compared to strict pressing.
The takeaway here is again to not skip steps! If you don't have a strict handstand pushup you should not be kipping. Strict strength is the armor that will protect you from injury when busting out kipping handstand push-ups in competition and will also make you more efficient with the skill! As stated by (Cormie et al 2011), "a fundamental relationship exists between strength and power, which dictates that an individual cannot possess a high level of power without first being relatively strong".
The last factor to discuss is integrity under fatigue! In workouts or competitions, handstand pushups are going to at least be coupled with another movement. Your body is attempting to clear lactic acid via the lactate shuttle but if deadlifts are coupled with handstand pushups it makes it really hard to clear (learn more about this from Chris Hinshaw). What we are left with is fighting through the fatigue, reaching new athletic potential, and attempting to maintain the integrity of the skill with everything in our body is saying stop! Learn more about fatigue and overhead stability in this podcast
Closing Thoughts
Handstand push-ups add great variability to your overhead pressing routine while testing your coordination, motor control, and strength. The destination of achieving the full handstand push-up is incredible but make sure your bags have been fully packed and you did not skip steps along the journey! Once you have developed the skill of a handstand push-up look for new challenges to keep your routine fresh and keep progressing towards the outcome you want. Ready for the extra challenge?
Exercise 14 of 15
Exercise demonstration
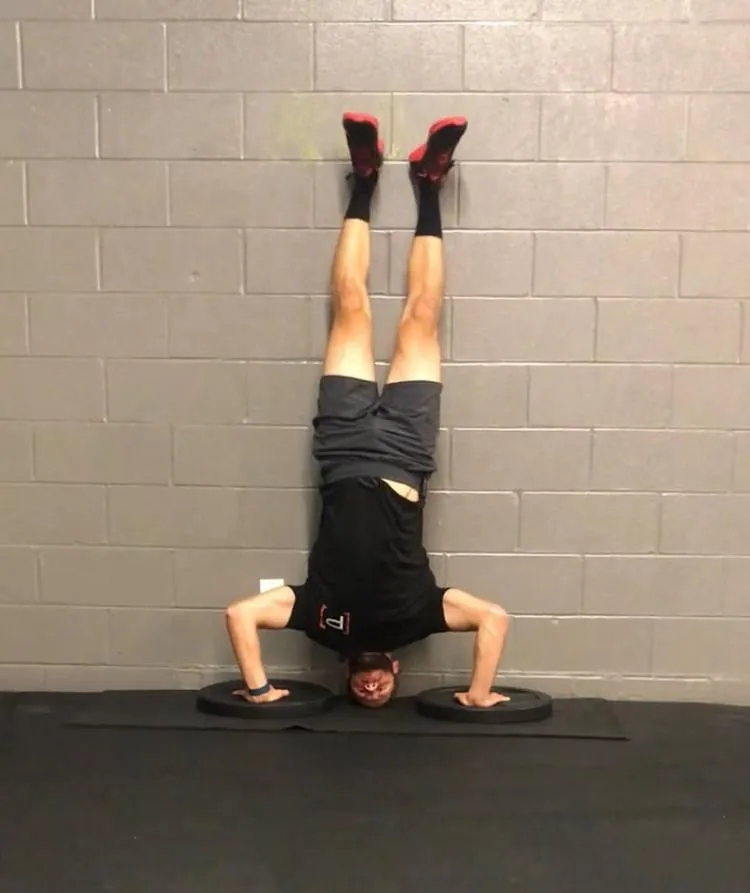
Handstand Push- Up - Strict, Deficit
View exercise instructions
Exercise 15 of 15
Exercise demonstration
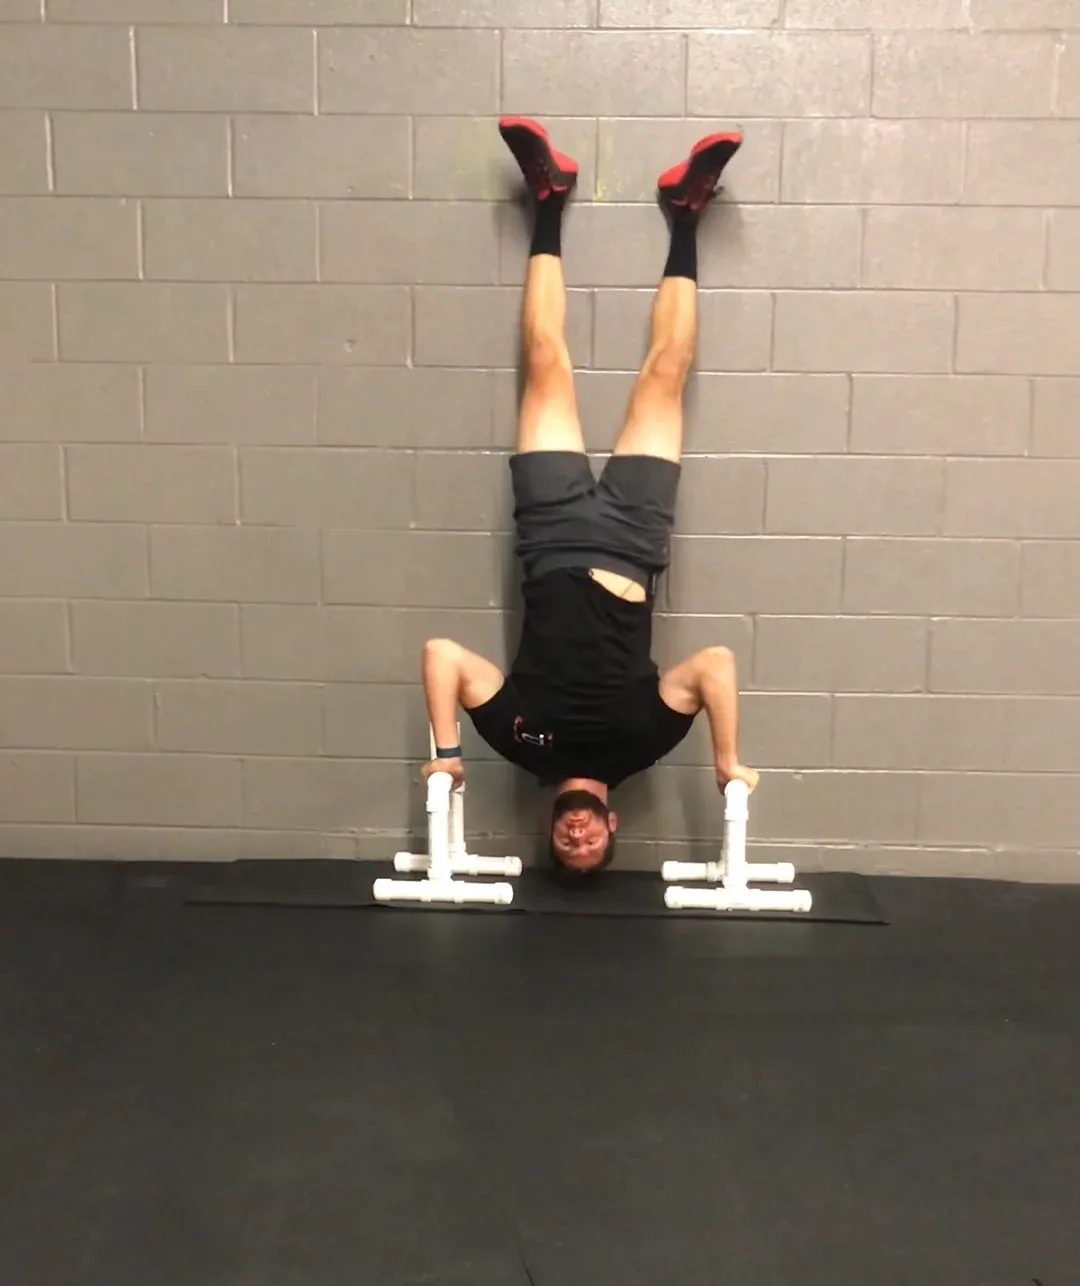
Handstand Push-Up - Paralletes
View exercise instructions
Become A More Efficient Overhead Athlete!
The overhead strength demands in a CrossFit program will be sure to test your character. You are making the choice to respond vs react to the overhead challenges this sport creates by owning this movement pattern! First by gaining full access to overhead positions by using strengthen to lengthen concepts for those powerful Lats and Pecs. In the next 4 weeks, you also earn foundational core strength and start to access authentic overhead positions using bottom-up positions of the kettlebell.
ABOUT THE AUTHOR
Dr. Dillon Caswell, PT, DPT, SCS
Prehab Audio Experience Host & Head of Programs
 Dillon is a Sports Physical Therapist, performance coach, and adjunct professor residing in Syracuse, NY whose passion is providing holistic solutions to improve all aspects of human performance. Along with working with clinical athletes across the lifespan, he provides on field coverage for youth and semi-professional teams.
After his undergraduate studies at Syracuse University, he earned his Doctorate in Physical Therapy from SUNY Upstate Medical University, where he now serves as an Adjunct Professor. He is the founder and owner of AP3T: Action Potential Performance Physical Therapy practicing wellness, prevention, and solution-based health care. In his free time, he enjoys family dinners, playing with his dog, and competing as a CrossFit athlete.
Dillon honors the opportunity to join the Prehab guys to influence and educate in a people first system!